

# Laravel Nova Tiptap Editor Field
A Laravel Nova implementation of the [tiptap editor for Vue.js](https://github.com/ueberdosis/tiptap) by [@ueberdosis](https://github.com/ueberdosis).
## Installation
Install via composer:
**For Nova 4 use this** (it installs Version 3 of nova-tiptap):
``` php
composer require manogi/nova-tiptap
```
**For Nova 3 use this** (it installs Version 2 of nova-tiptap):
``` php
composer require manogi/nova-tiptap "^2.8"
```
## Usage with default settings:
``` php
Tiptap::make('FieldName')
```
This will give you just the bold and italic buttons.
You will also have to add this `use` statement to the top of the file:
``` php
use Manogi\Tiptap\Tiptap;
```
## Usage with your selection of buttons:
``` php
Tiptap::make('FieldName')
->buttons([
'heading',
'|',
'italic',
'bold',
'|',
'link',
'code',
'strike',
'underline',
'highlight',
'|',
'bulletList',
'orderedList',
'br',
'codeBlock',
'blockquote',
'|',
'horizontalRule',
'hardBreak',
'|',
'table',
'|',
'image',
'|',
'textAlign',
'|',
'rtl',
'|',
'history',
'|',
'editHtml',
])
->headingLevels([2, 3, 4]),
```
## `|` and `br`
You can use `|` to define a vertical line between two buttons, and you can use `br` to define a hard break after a button.
## Headings and `headingLevels`
When just passing the string `'heading'` you will have H1, H2 and H3 to choose from. You can set the level of headings by using for example `headingLevels([2, 3, 4])` which will give you H2 through H4.
## Links and `linkSettings` and `fileSettings`
When just passing the string `'link'` you will be able to link text with an URL and define if the link should open in a new window. You will also be able to link text with a file you uploaded to the server. You can optionally use `linkSettings` to define if this file upload should be possible/visible like so:
``` php
Tiptap::make('FieldName')
->buttons([
'italic',
'bold',
'link',
])
->linkSettings([
'withFileUpload' => false,
]),
```
And you can optionally use `fileSettings` to define the **disk** and the **path**:
``` php
Tiptap::make('FieldName')
->buttons([
'italic',
'bold',
'link',
])
->fileSettings([
'disk' => 'your_custom_disk',
'path' => 'your/custom/path',
]),
```
If no disk is defined here, it assumes `public` if a `public` disk is defined in your `config/filesystems.php`, otherwise it assumes `config('filesystems.default')`.
And if no path is defined here, it assumes the root folder of that disk.
## Images and `imageSettings`
With the button `'image'` you can let the user add images either from a file upload or from adding a URL. And you can optionally use `imageSettings` to define the **disk** and the **path**:
``` php
Tiptap::make('FieldName')
->buttons([
'italic',
'bold',
'image',
])
->imageSettings([
'disk' => 'your_custom_disk',
'path' => 'your/custom/path',
]),
```
If no disk is defined here, it assumes `public` if a `public` disk is defined in your `config/filesystems.php`, otherwise it assumes `config('filesystems.default')`.
And if no path is defined here, it assumes the root folder of that disk.
### Disallowing file upload for images
For images you can also disallow the file upload completely with the `withFileUpload` attribute:
``` php
Tiptap::make('FieldName')
->buttons([
'italic',
'bold',
'image',
])
->imageSettings([
'withFileUpload' => false,
]),
```
## Text alignment with `textAlign`
When adding `textAlign` you get four buttons for aligning text **left**, **right**, **center** and **justify**. The default alignment will be **left**.
``` php
Tiptap::make('FieldName')
->buttons([
'italic',
'bold',
'textAlign',
]),
```
If you want to change some of this, you can use the methods `alignments` and `defaultAlignment`:
``` php
Tiptap::make('FieldName')
->buttons([
'italic',
'bold',
'textAlign',
])
->alignments(['right', 'left'])
->defaultAlignment('right'),
```
## RTL support with `rtl`
When adding `rtl` you get a button for toggling RTL mode for all selected block elements (`dir="rtl"`).
``` php
Tiptap::make('FieldName')
->buttons([
'italic',
'bold',
'rtl',
]),
```
## The two different "code" buttons
`'code'` is inline code (like `
`.
## Syntax Highlighting when using `codeBlock`
``` php
Tiptap::make('FieldName')
->buttons([
'italic',
'bold',
'code',
'codeBlock'
])
->syntaxHighlighting(),
```
When using `'codeBlock'` you can turn on syntax highlighting by using `syntaxHighlighting()`.
## Edit HTML
the `'editHtml'` option will enable the ability to toggle to the tiptap editor to a textarea and manually edit the HTML
### HTML theme when using `editHtml`
``` php
Tiptap::make('FieldName')
->buttons([
'italic',
'bold',
'code',
'editHtml'
])
->htmlTheme('night'),
```
When using `'editHtml'` you can set the theme by using using `htmlTheme()`. The default theme used is "material". You can find all the codemirror themes used [here](https://codemirror.net/demo/theme.html) .
## Save JSON
You can optionally use `saveAsJson` to enable the ability to save the tiptap editor content as JSON in the field
``` php
Tiptap::make('FieldName')
->buttons([
'italic',
'bold',
'code'
])
->saveAsJson(),
```
## Visibility in index view
Like `Textarea` and `Trix` fields this field is hidden from index views. You can make the content visible by using a [computed field](https://nova.laravel.com/docs/3.0/resources/fields.html#computed-fields).
## Screenshots
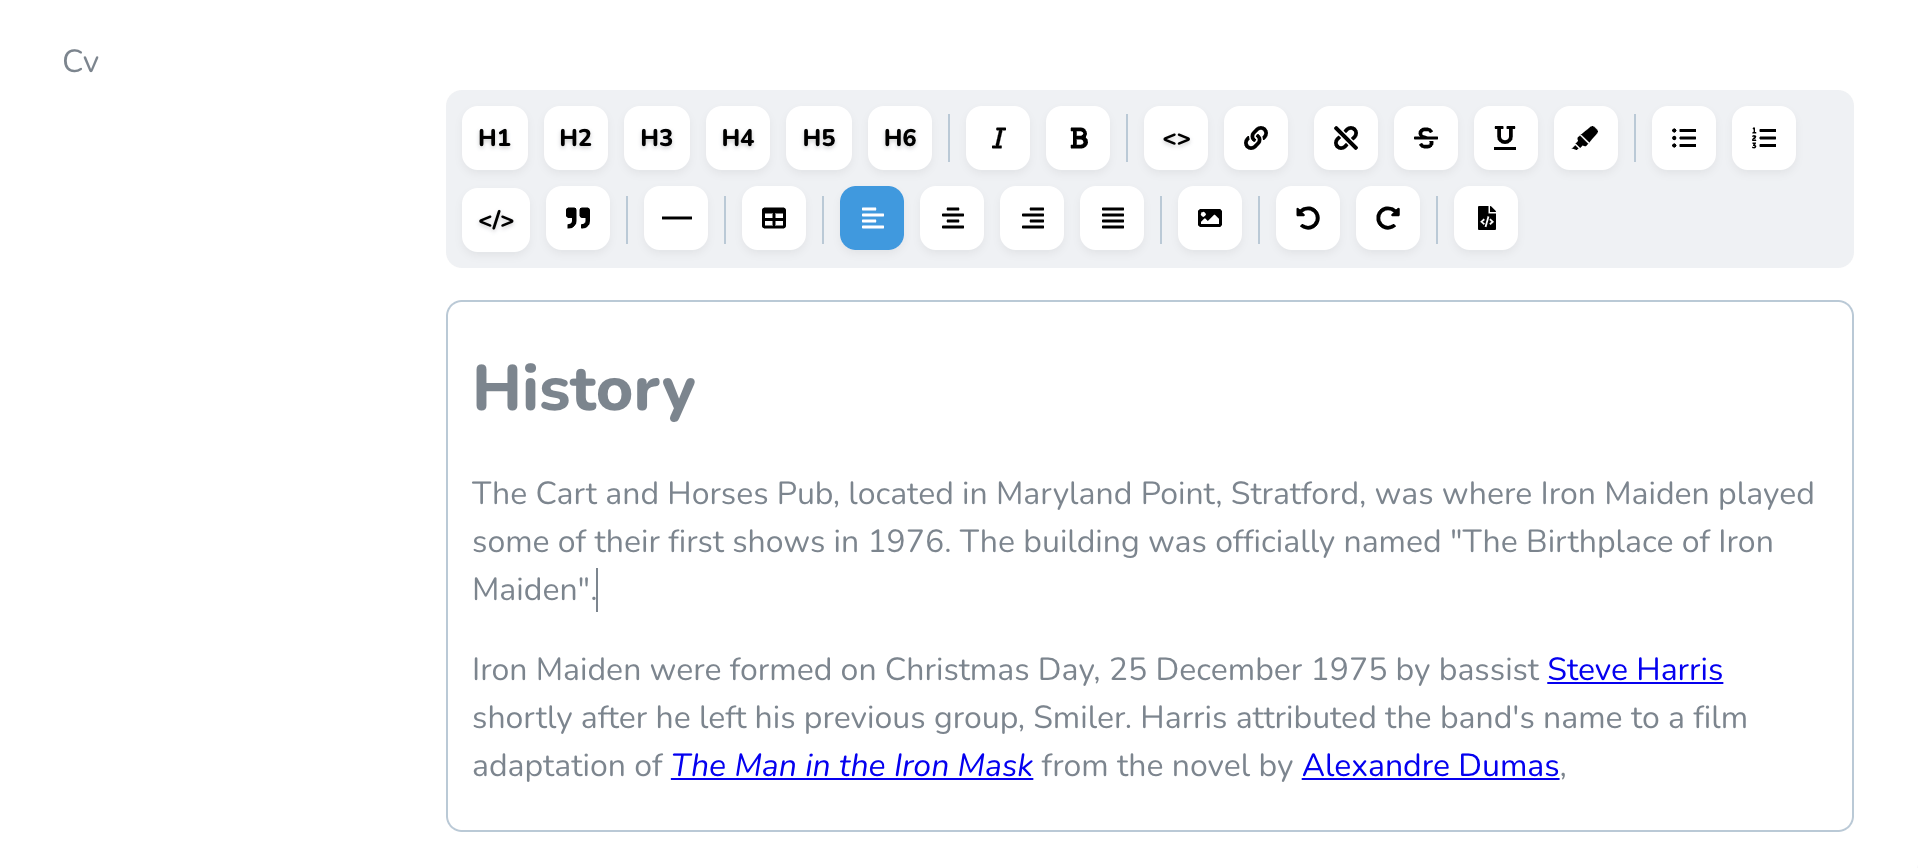
The tiptap editor with all the buttons:
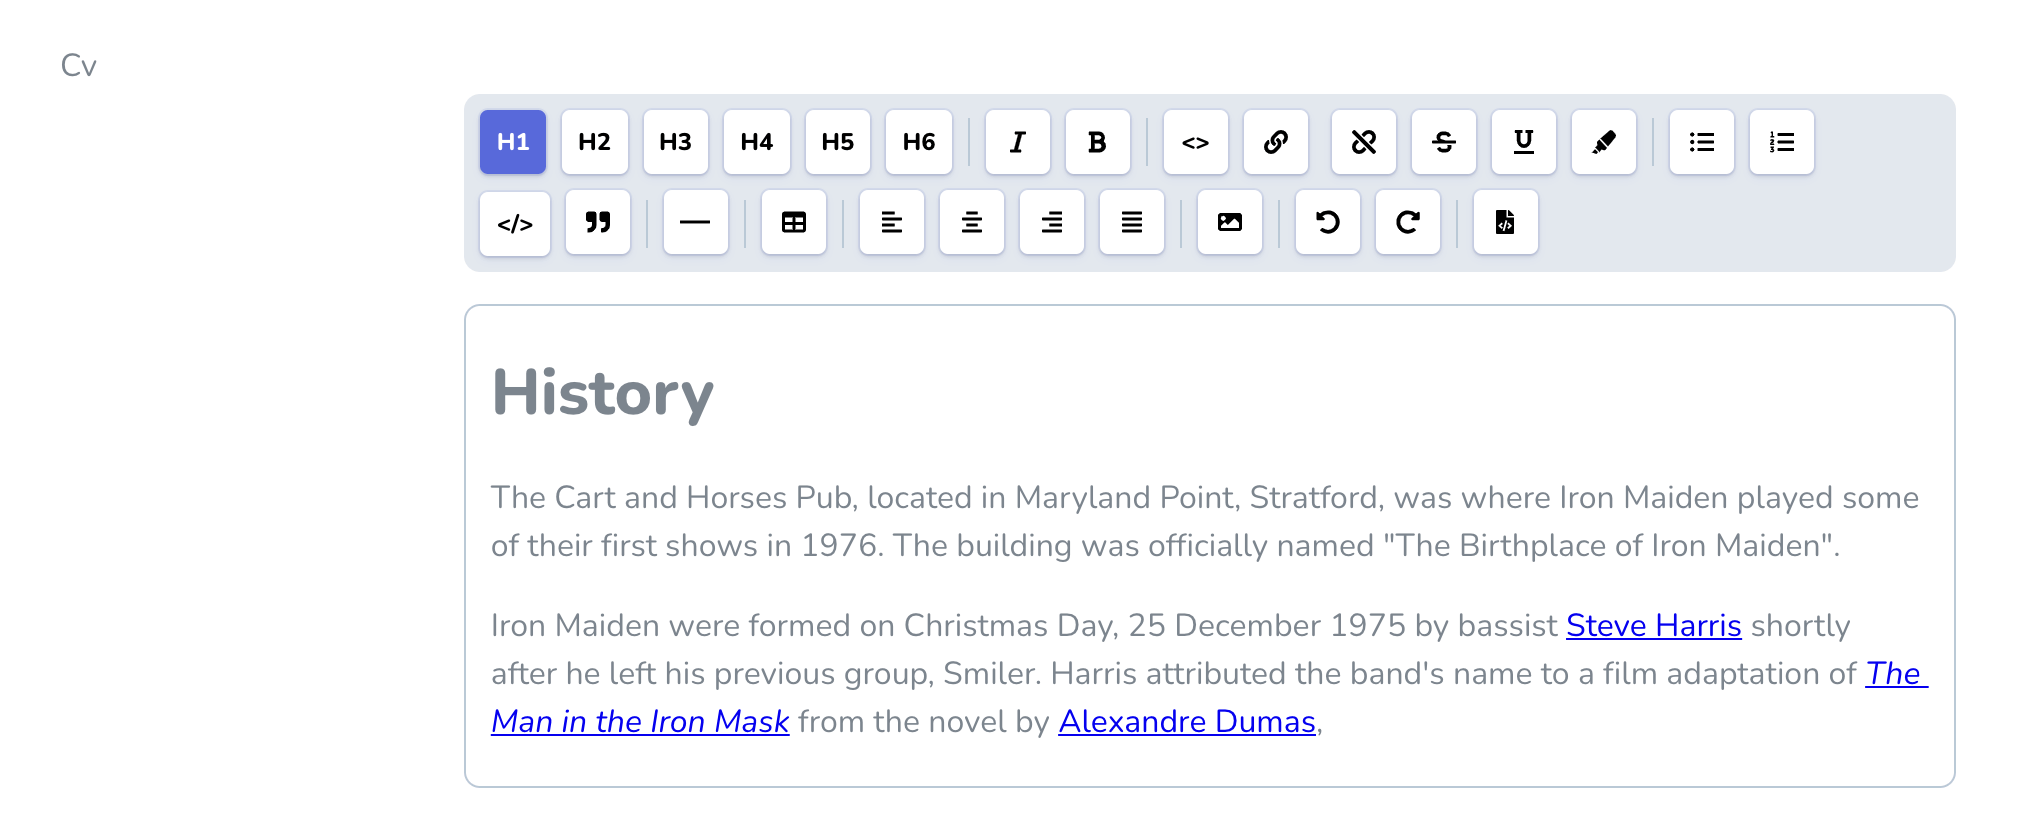
The idea is that the editor can be themed together with the rest of Nova - here it is looking differently just by using the [Laravel Nova Stripe Theme](https://github.com/jameslkingsley/nova-stripe-theme):
## Licence
The MIT License (MIT). Please see [License File](LICENCE) for more information.